Smokey Eye Tutorial: Steve Laurant Eyeshadow Palette
This month, we want you all to
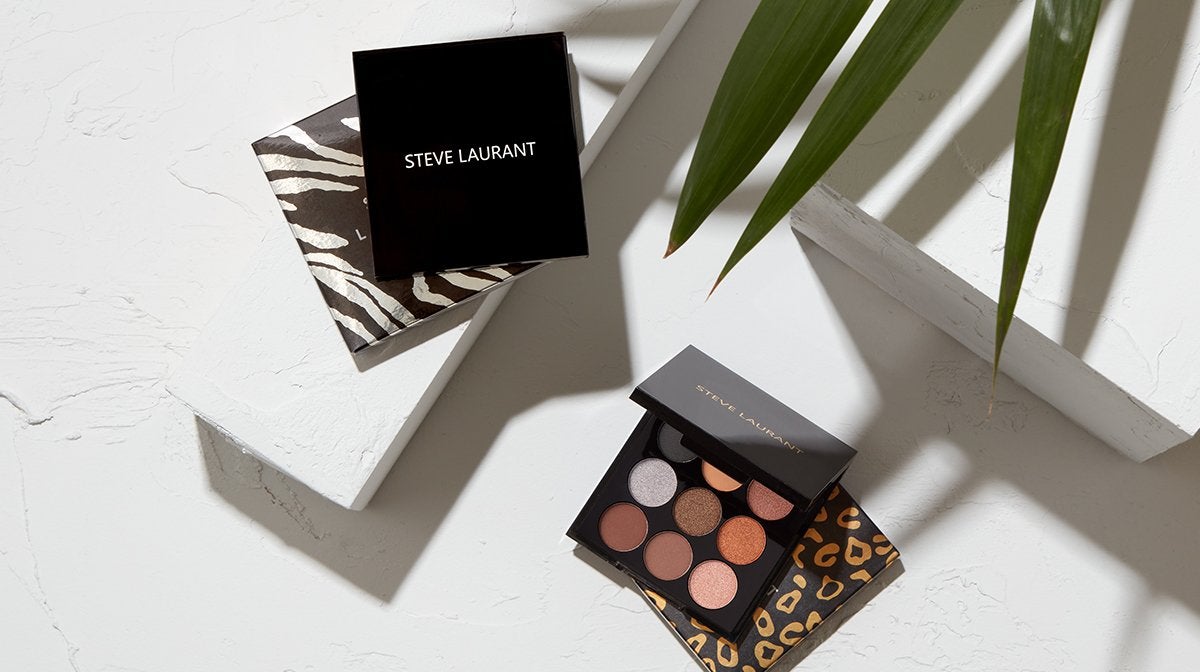
About Your Steve Laurant Eyeshadow Palette
How To Create A Smokey Eye
The Steve Laurant eyeshadow palette boasts the perfect colour combination to create a gorgeous smokey eye. Here's how in just seven quick steps...
1. Prep Your Lid
Before applying eyeshadow, you should always prep your lids with an eye primer. Our makeup artist Lucinka recommends using
2. Sketch Out The Shape Of Your Eye
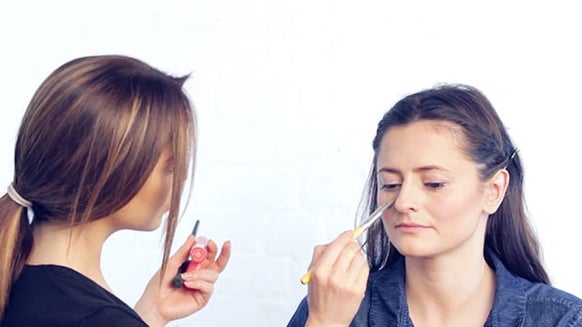
Using a blending eyeshadow brush, collect some pigments from the matte brown shade in the middle of the bottom row of your palette (1), and sketch out the shape of your eye.
You’re aiming to achieve a winged smokey eye and the shape you create with this shade will act as the base of your look. Build up the shade until it reaches an intensity that you’re happy with.
3. Add Depth
Next, apply the warmer brown shade that is in the bottom left corner (2) from the outside of your socket inwards, focusing mainly on the outside half of your lid. This should start to add depth to your smokey look.
4. Blend It Out
To achieve an Instagram-worthy blend, use the soft, middle top shade (3) to blend out the shadows and soften the edges of your look. For best results, use a small, soft blending brush and barely touch your skin. Think of it as airbrushing – the softer the touch, the softer the blend.
5. Pack On Some Colour
When you’ve blended your first three hues seamlessly, you can start to pack on some colour. For an intense smoke, opt for the darkest shade in the top left corner (4). Apply it from the outside in, focusing it mostly on the lash line. This will really intensify the look and make your lashes look fuller.
6. Add Some Shimmer
To really take this look to the next level, you can add some shimmer too. Pack the middle hue from the middle row (5) onto your lid using a flat brush. Make sure that it blends it with the rest of the shadow.
7. Don't Forget To Highlight
To highlight your brow bone and the inner corner of your eyes, apply a touch of the light shimmery pink shade in the bottom right (6) using a small precision brush. This will really help to open the eyes up.
8. Wing It Out
No smokey eye is ever complete with a touch of eyeliner.
9. Add Some Lashings Of Mascara
You can also add a touch of liner just below your bottom lashes and smudge it out. To finish the look, apply a few lashings of mascara. You can reach for you go-tos, or try Lucinka’s favourite mascara (
The Finished Look
And there you have it, a smokey eye look using your new Steve Laurant eyeshadow palette.
Order Your ‘Wild Thing’ May GLOSSYBOX Now
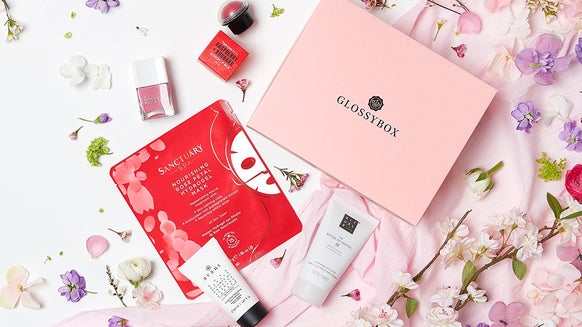
Embrace your wild side with GLOSSYBOX’s latest edit. Featuring five full-size products, this box will introduce you to an array of sassy beauty must-haves that make you feel fierce and free.


