Easy Christmas Nail Tutorial With Nails Inc

We love Nails Inc here at Glossy, so we just couldn't wait to get our hands on their brand-new limited edition nail set housed in a gorgeous rainbow glitter box!
Nails Inc Paint Your Nails Happy Nail Polish Gift Set
A rainbow spectrum of shades to get you beaming with joy this Christmas, the four shades range from two full coverage cream shades
You'll be glad to know that each of these four limited edition polishes have been formulated with the Nails Inc patented long wear system and non-drip brush for flawless application.
Amy from the Glossy team has created a step by step tutorial showing you how to create this fabulous Christmas nail look...
Top tip for Nails Inc polishes
All Nails Inc polishes have a cap on the bottle. Don't ruin the bottle - remove the metal cap first, don't twist it!
Step 1. Prep your nails with a clear base coat of your choice!
Firstly, you'll want to use a good base coat to make your nail look long-lasting. Amy loves the Nails Inc'sKensington Caviar Base Coat. Enriched with caviar extract, this nourishing gel formula dries fast to grip onto your nail polish for a longer-lasting look.
Step 2. Teal and Dark Mauve Base Coat
Use the teal shade
Step 3. Add Extra Shimmer
Now for some extra sparkle! Paint one coat of
Step 4. Draw Your Baubles And Bows
Add a blob of the multi-colour glitter shade
Then use a black nail art pen to draw a cute bow above your baubles. Amy uses the Black Nail Art pen from the Rio Ultimate Nail Art Collection.
Step 5. Top Coat
You’ll want to apply a good top coat to make your nail look long-lasting and super shiny. Amy used the Nails Inc 2-in-1 Base and Top Coat.
The Final Nail Look
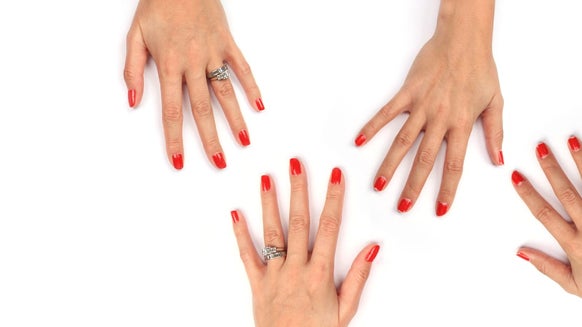
Shiny, festive and a different take on the usual red Christmassy colours of other nail tutorials, we love the Nails Inc.
Subscribe Now
Due to incredible demand, we’ve now sold out of our December Editions. You can still be part of the Glossy family though – subscribe today to pre-order January’s edition and to receive a welcome box in December. #StayGLOSSY

I am always searching for future trends - beauty, fashion, hair, you name it! I’ve tried every foundation under the sun and love trying up-and-coming makeup brands to compare them with the big names. Variety is the spice of life and my makeup bag is definitely wide-ranging.
