How To Get Gorgeous Brows With Your MUA Brow Pencil
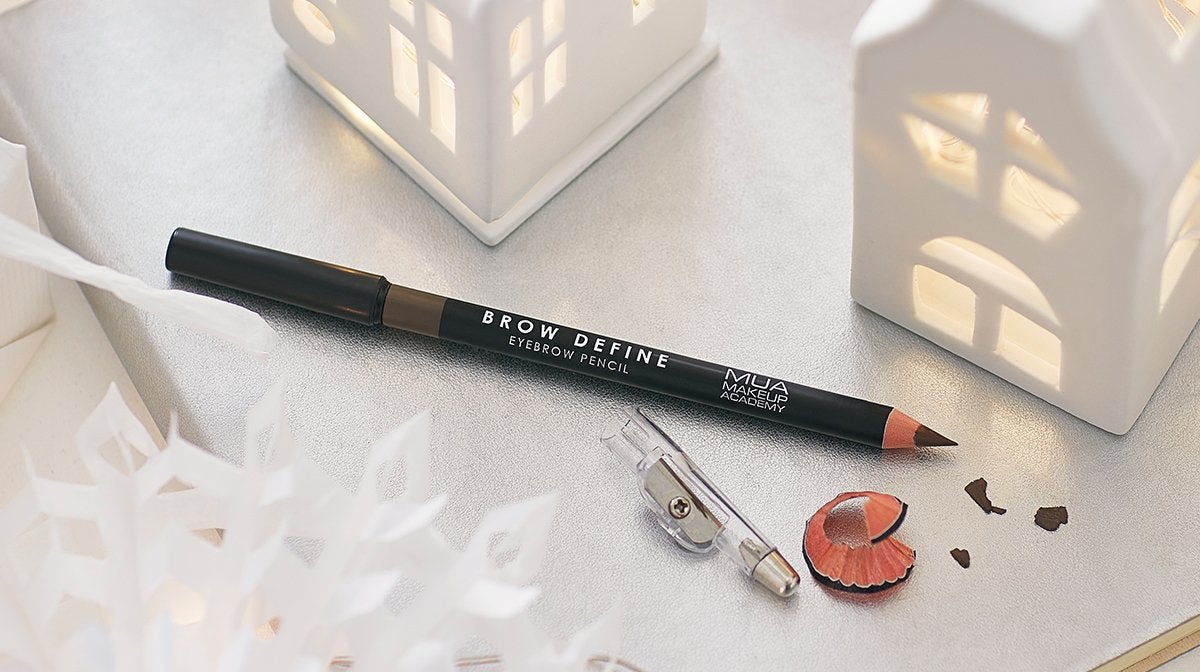
It’s day nine of your
Want to know a bit more about what’s behind door number nine and how you can use it for the best brow results? Read on...
About Your MUA Eyebrow Pencil
This eyebrow pencil boasts a buildable formula that can be used to line, define and fill your brows effortlessly. Simply use the sharpened pencil to draw realistic hairs onto your brows and fill in any sparse areas, then shape and groom your brows with the spoolie end!
How To Fill In Your Eyebrows With A Pencil
For easy eyebrow styling with a brow pencil, follow these simple steps:
Start by finding your natural eyebrow shape Brush your brows with a spoolie Outline the underneath of the tail of your brow Fill in your brow with hair-like strokes Blend by brushing through with a spoolie - again Set with a brow gel
1. Start by finding your natural eyebrow shape
Start by finding out where your eyebrow should start and end. Hold your pencil vertical against your nose - the edge of the pencil that is closest to your nose marks the line where your brow should begin. Then, tilt your pencil roughly 45 degrees towards the outside of your eye – this is where the tail of your brow should be.
Top tip: to find your ideal arch point in the middle of your brow, look straight forward and line up the outer edge of your pencil with the outer edge of your iris!
2. Brush your brows with a spoolie
Give your brows a quick groom by brushing them through with the spoolie end of your pencil. This will point out if your brows having any sparse areas that need filling, or if there are any stray hairs that need plucking.
3. Outline the underneath of the tail of your brow
Start filling in your brows by gently following the underneath of your eyebrows with your pencil - focusing especially on the tail end of your brow. Draw the delicate line from the inside to the outside of your brow.
4. Fill in your brow with hair-like strokes
Using short, upwards, dash-like strokes that mimic your natural hairs, softly fill in any sparse areas of your brow with your pencil.
5. Blend by brushing through with a spoolie again
Once your brows are filled, blend and brush out any excess product by using the spoolie end of your pencil again.
6. Set with a brow gel
T hree T op Tips For Upping Your Eyebrow Game
Don’t overpluck - Nobody wants to go back to having 2000s brows. Tidy up your brows by plucking away stray hairs, but try to let your natural brow shape free.Find the right shade – make sure your pencil is the same shade as your natural eyebrow colour. Too dark or too light will not look natural.Buff away harsh lines – Always brush away excess product in your brows to form a more natural shape.
Subscribe To GLOSSYBOX

I'm someone who loves getting glammed up, but I feel like I never have enough time. Frequently running between work, the gym and seeing friends means my makeup routine is quick and often touched up on the go. Therefore, beauty products that serve as multi-purpose are perfect for me - a blush that works for cheeks and lips is a must in my makeup bag!


