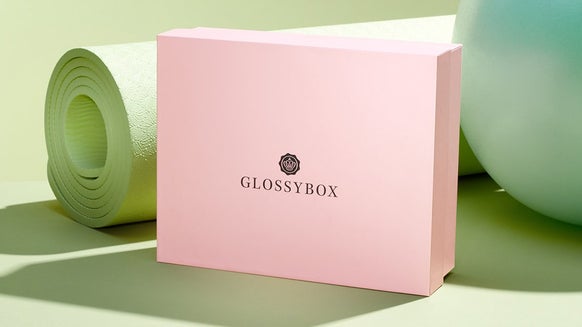
Upscale Your GLOSSYBOX Into A Nail Polish Stand
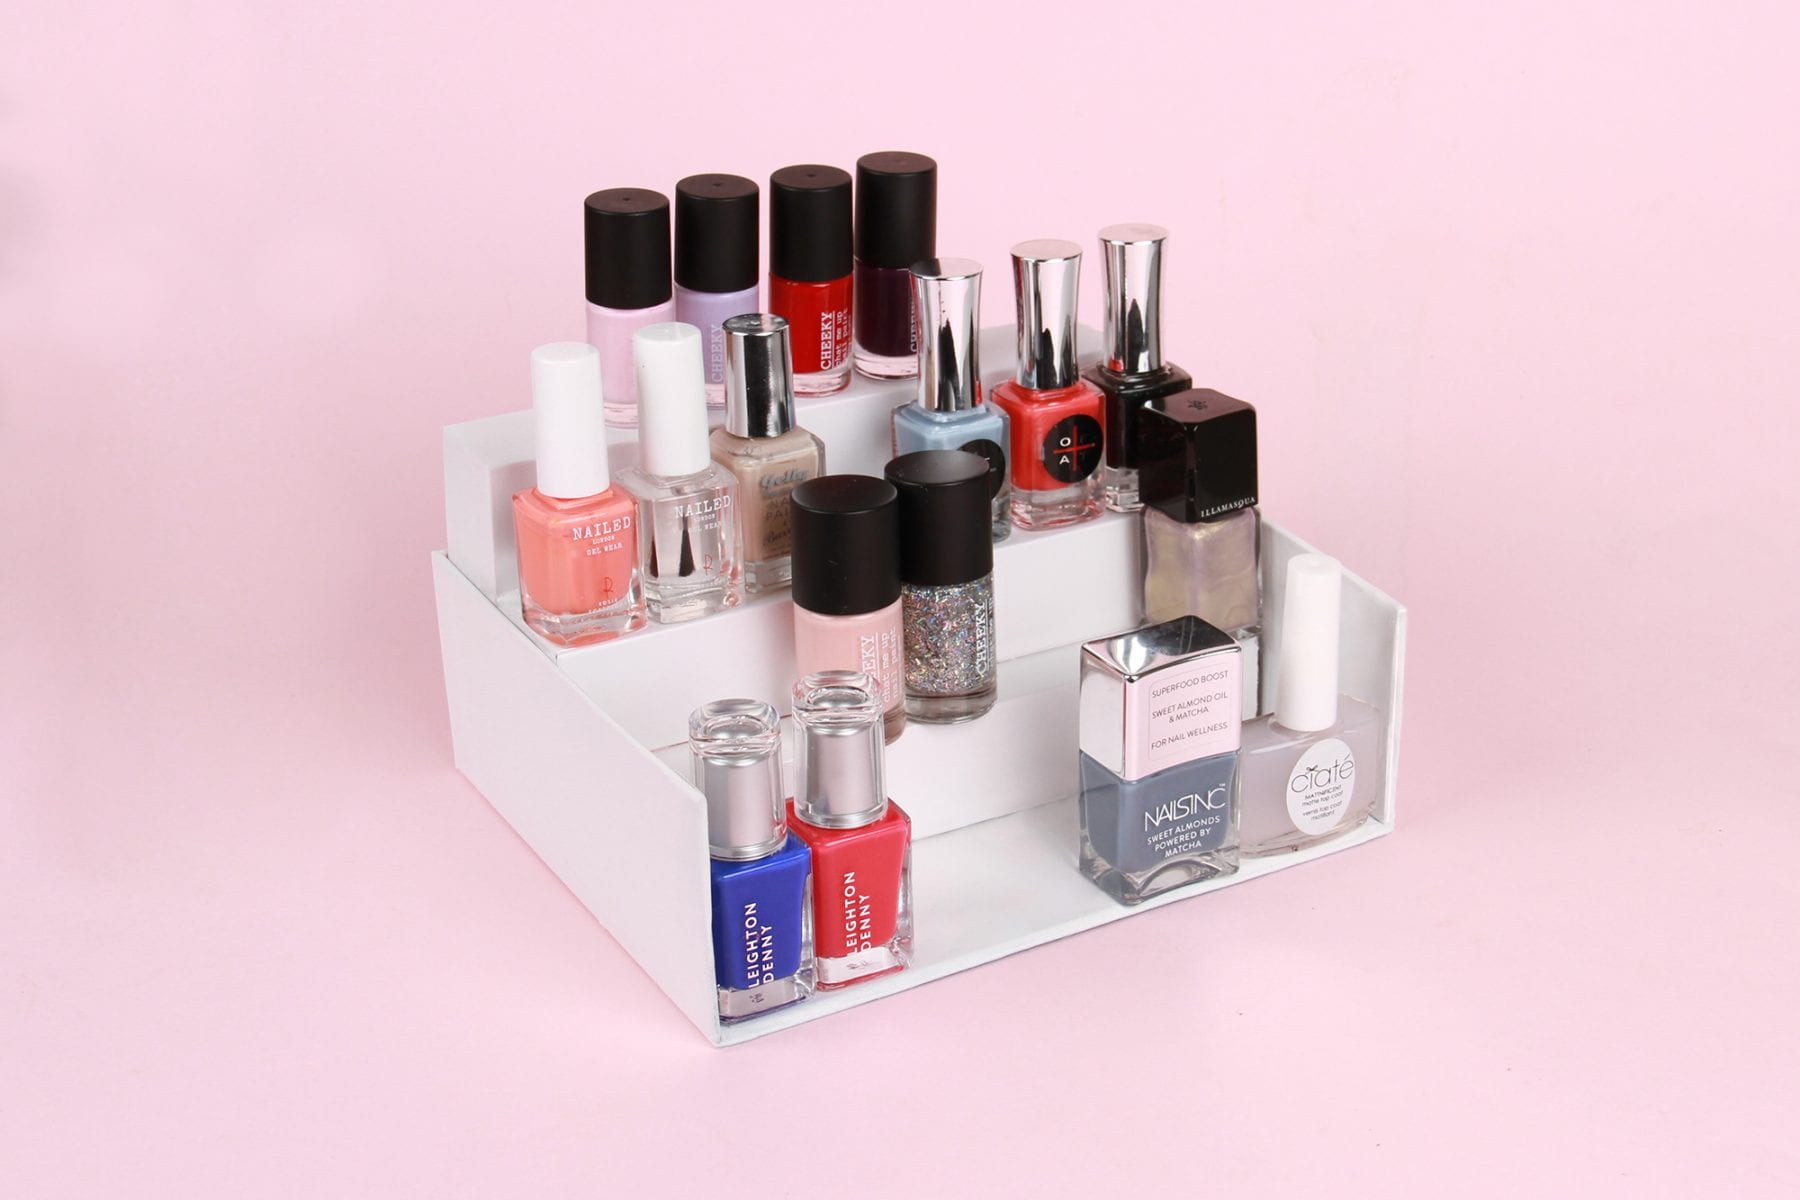
This month, we’ve been upscaling some of our old boxes to create storage for our nail polishes! Genius, right? All you need is a couple of old boxes and you can create your own nail polish stand to display all your pretty colours on! It makes choosing the perfect hue that bit easier.
What You’ll Need
2 GLOSSYBOXES A box cutter Glue - White spray paint
How To Make A Nail Polish Stand
Step 1: Prepare The Shelves
Take the lid off one of your boxes. Cut a horizontal straight line down the middle of the box, so that you have two pieces. Then, cut one side off each of the lid halves, roughly 1cm in from the edge.
Step 2: Create The Base
Take the base of one of your boxes and cut off the front panel
Step 3: Build Your Stand
Take one of your lid halves from step 1 and stand it up inside the back of this base, so the top of the lid is facing forwards. Then, take the other lid half you have cut and slide it in against the first piece so that the top of the lid is facing upwards. Glue both pieces in place.
Step 4: Add A Shelf
Take the second (currently untouched) lid and cut horizontally down the centre of it 4cm in from the longest edge of the lid. As in step 1, cut one side off the piece of lid you’ve just cut, roughly 1cm in from the edge. Place this piece on top of the two glued down pieces, creating a third shelf. Glue it in place.
Step 5: Paint!
Spray paint your shelving unit with the colour of your choice (we went for white - classy, right?). Then, add your polishes onto it!
And that’s how to turn your GLOSSYBOX into a nail polish stand!
Subscribe To GLOSSYBOX

I'm someone who loves getting glammed up, but I feel like I never have enough time. Frequently running between work, the gym and seeing friends means my makeup routine is quick and often touched up on the go. Therefore, beauty products that serve as multi-purpose are perfect for me - a blush that works for cheeks and lips is a must in my makeup bag!

